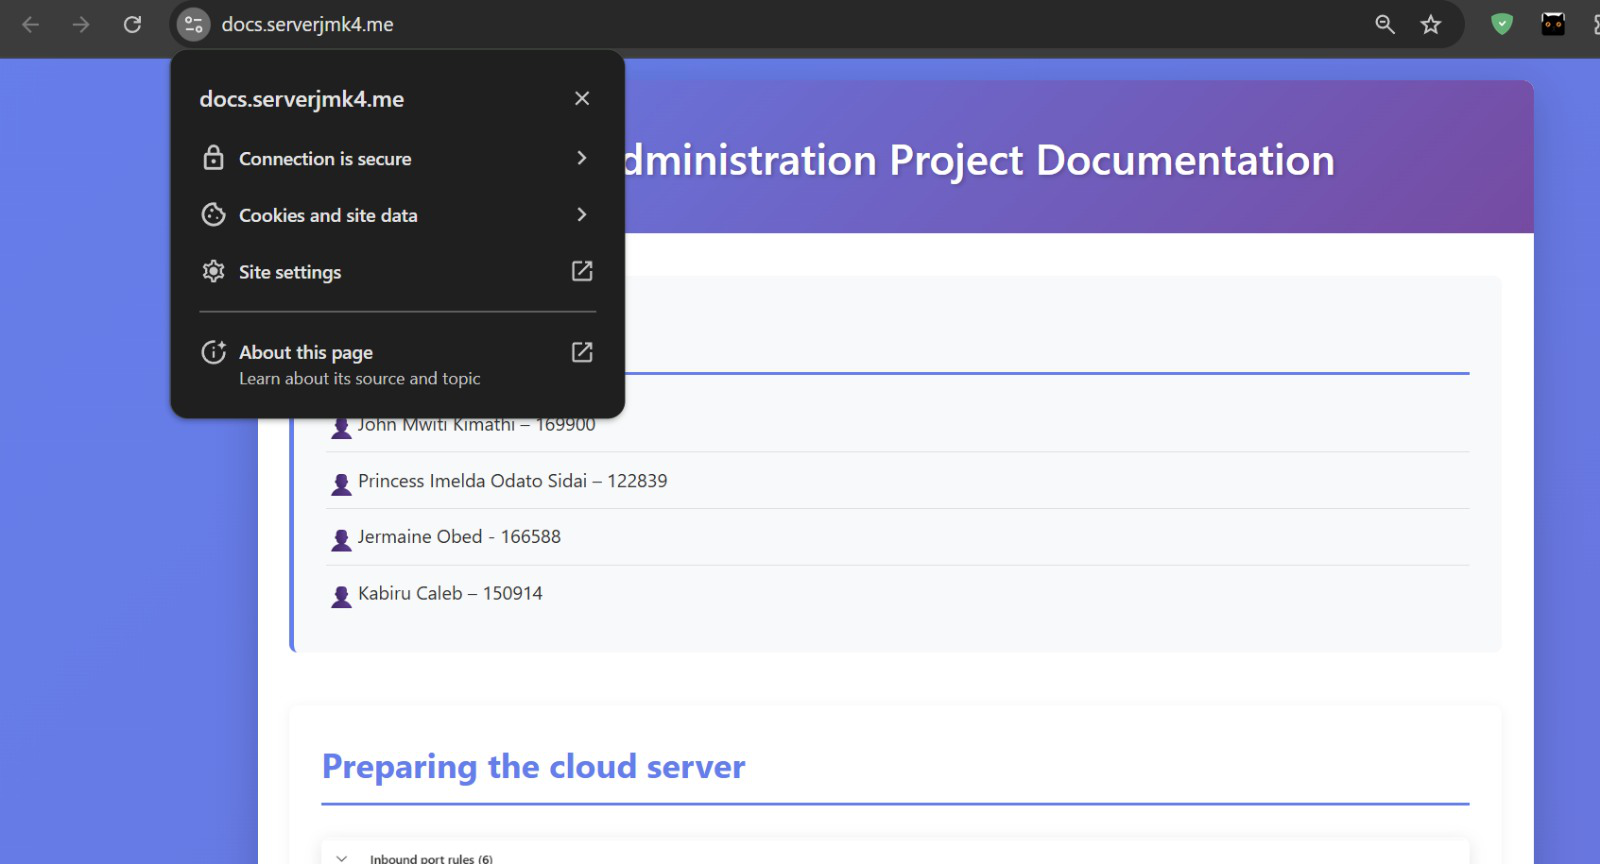
Members
- John Mwiti Kimathi – 169900
- Princess Imelda Odato Sidai – 122839
- Jermaine Obed - 166588
- Kabiru Caleb – 150914
Preparing the cloud server

This shows our cloud server on Azure. The server is Ubuntu-based and will host the Node.js application. The public IP will be used in DNS to map the domain name.
Configure DNS for Your Domain [8 Marks]

When I opened the DNS, I found preexisting record so upon addition of mine for the www, it was merged with the other so edited it from 30min to automatic: DNS doesn't allow multiple CNAMEs for the same host (www). So, editing the existing one instead of adding a new one is the correct approach.
Now:

Explanation: We Configured DNS so the domain points to the Azure server. The A record maps the root domain to the IP, and the CNAME ensures www works.
Configure Subdomains [3 Marks]

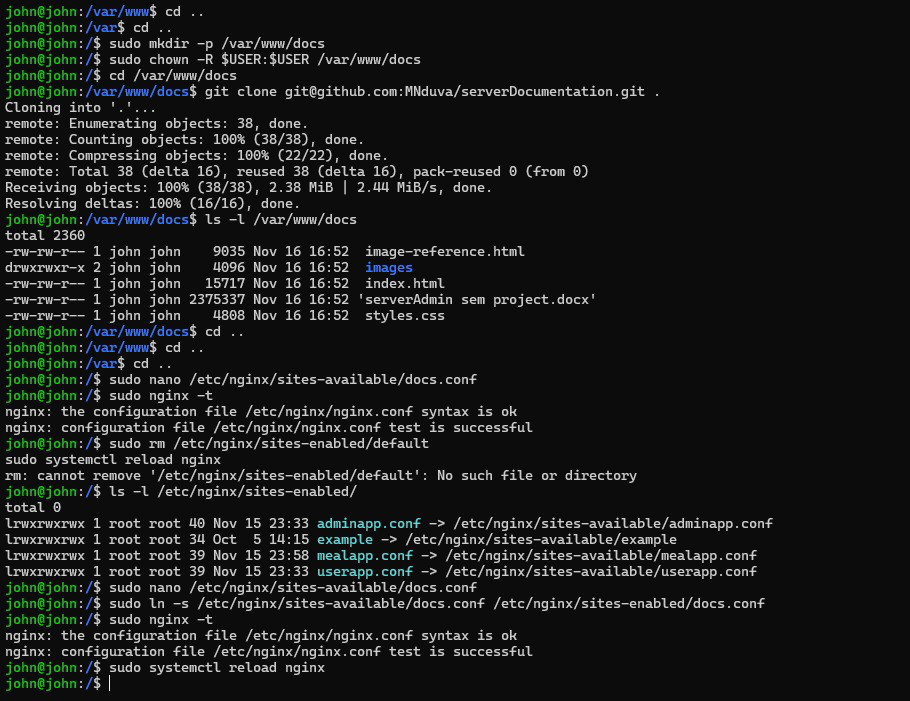
We created a subdomain to show our documentation for the project
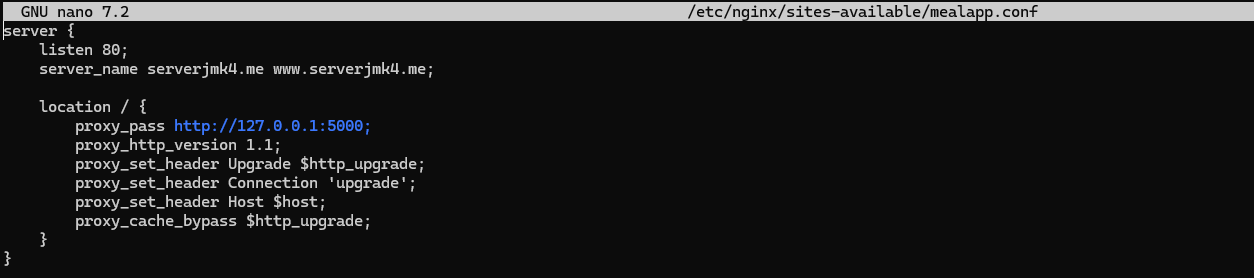
All subdomains, such as docs.serverjmk4.me can point to the same Azure server IP because DNS simply directs traffic to the server's address. The server itself distinguishes between subdomains using the Host header in incoming requests, allowing it to serve different functionalities — for example, the admin panel for docs to show the project documentation. This setup is efficient, straightforward, and standard practice, as multiple subdomains can share one IP while maintaining separate application logic.
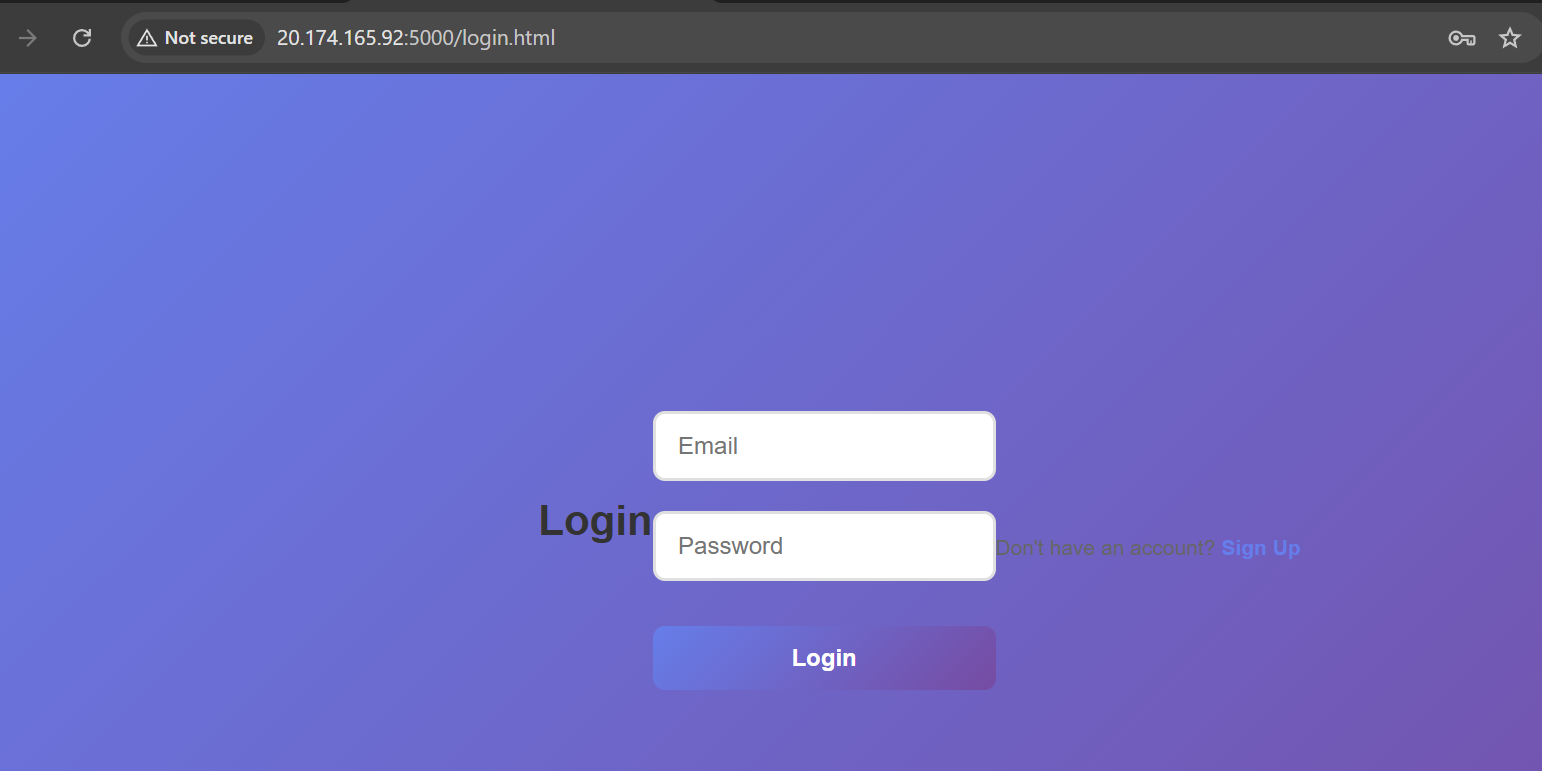
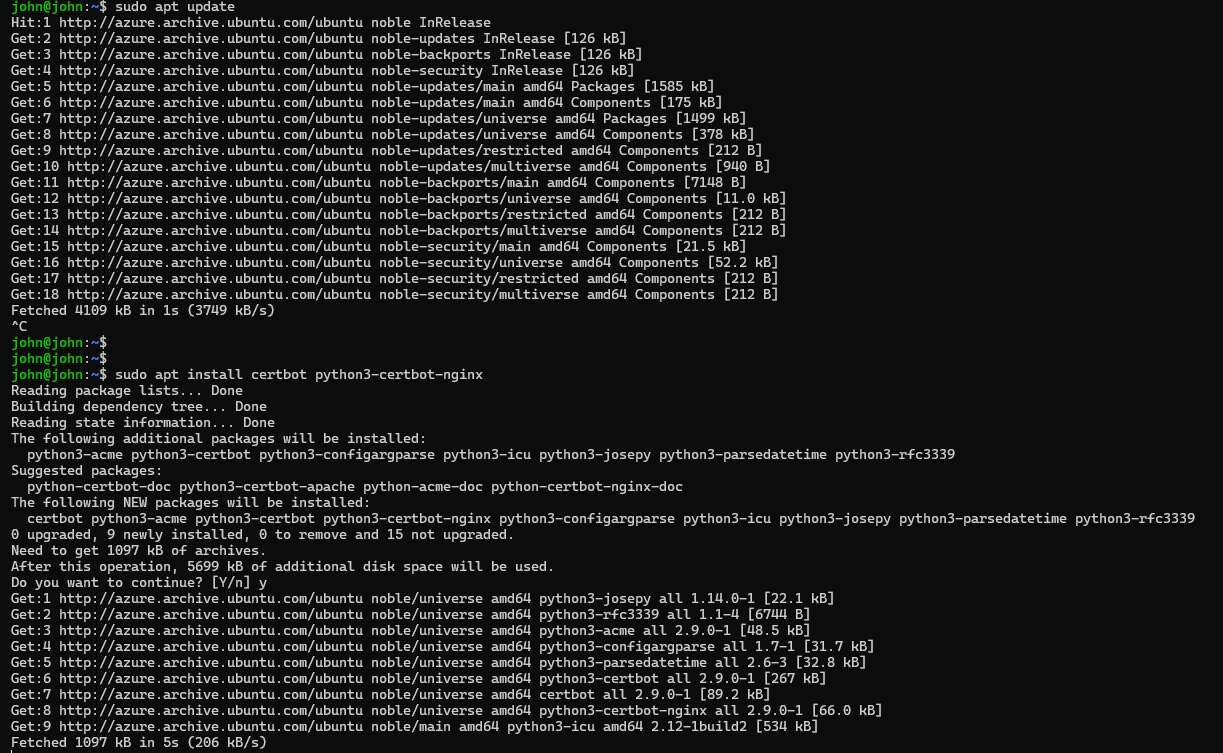
Upload / Clone Your Node.js Project
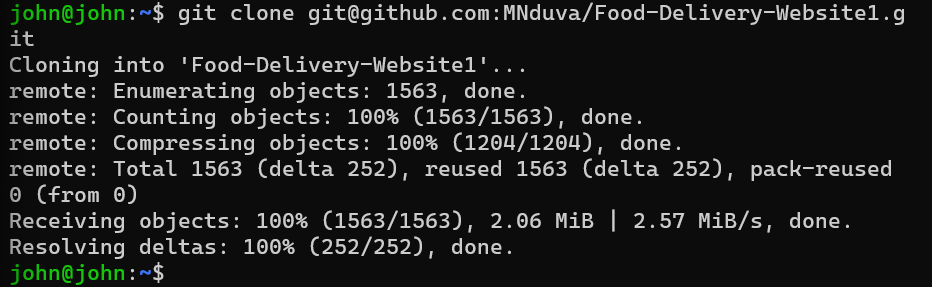
I cloned the project from GitHub to download all the source code, including backend, frontend, and configuration files, onto my Ubuntu server. This ensures I have the latest version of the project and can run it locally or deploy it to the cloud.
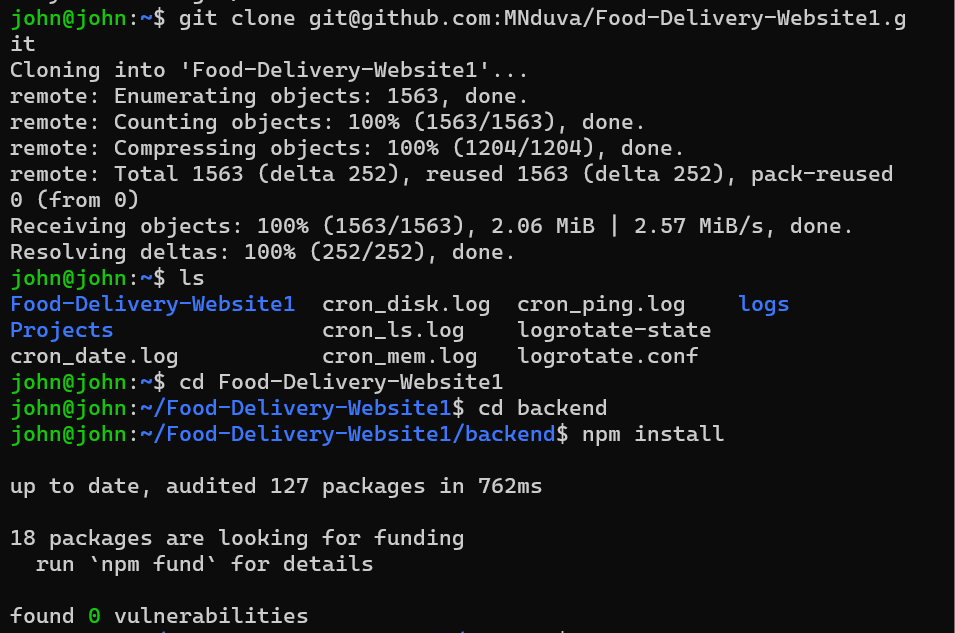
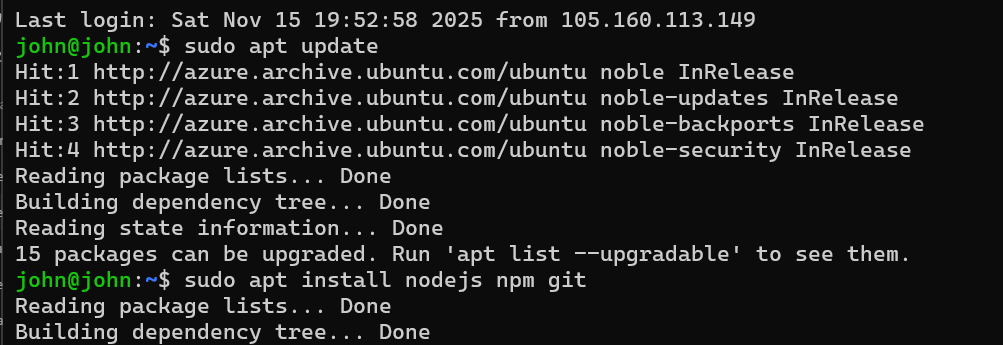
Installed npm (Node Package Manager) because it's the tool that manages Node.js packages and dependencies.
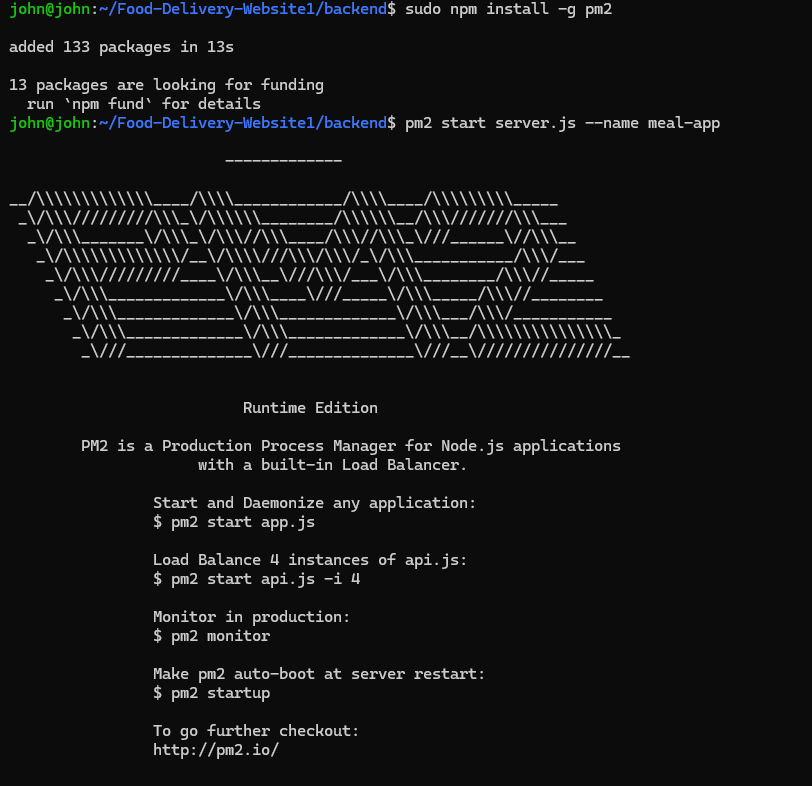
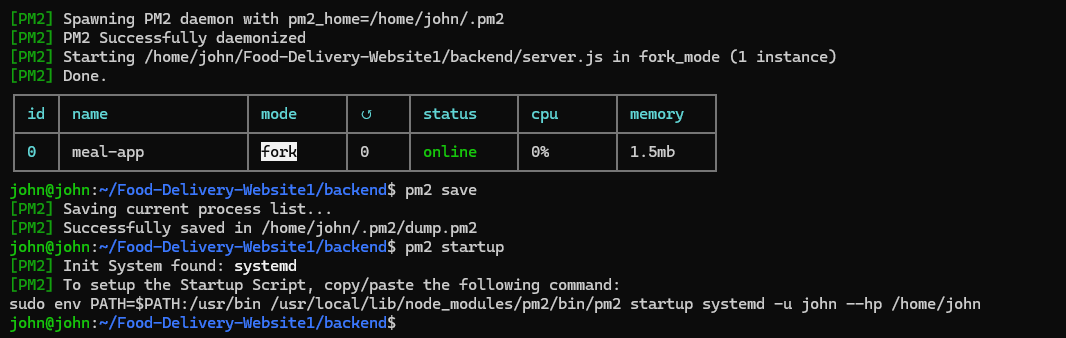
PM2 Process Manager
PM2 stands for Process Manager.
- Keeps Node apps running even if they crash.
- Manages multiple apps on the same server.
- Restarts apps automatically on server reboot.
- Provides monitoring and logs for app performance.
- Simplifies deployment in production environments.
Set up MySQL database
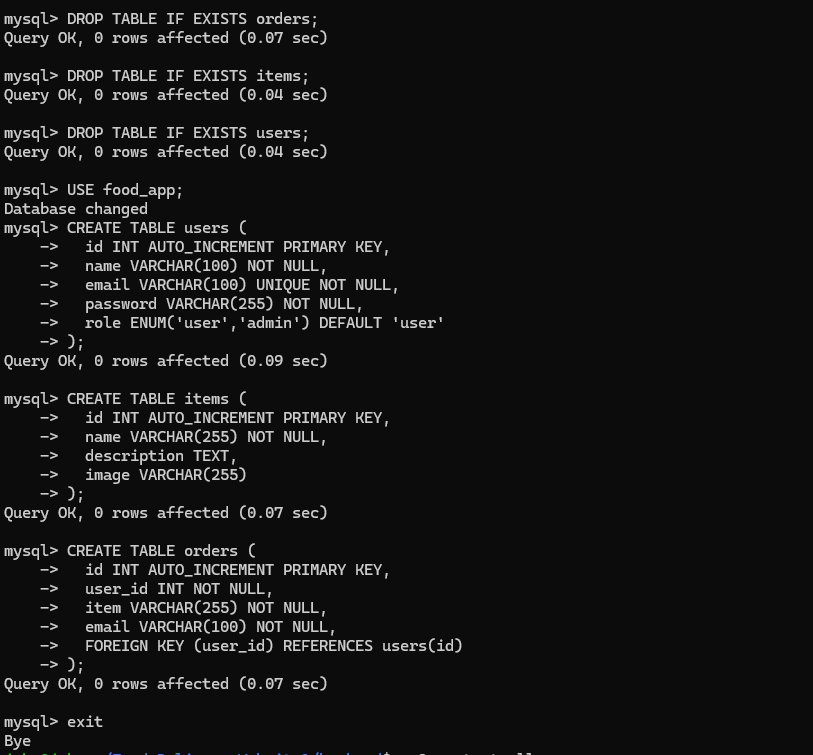
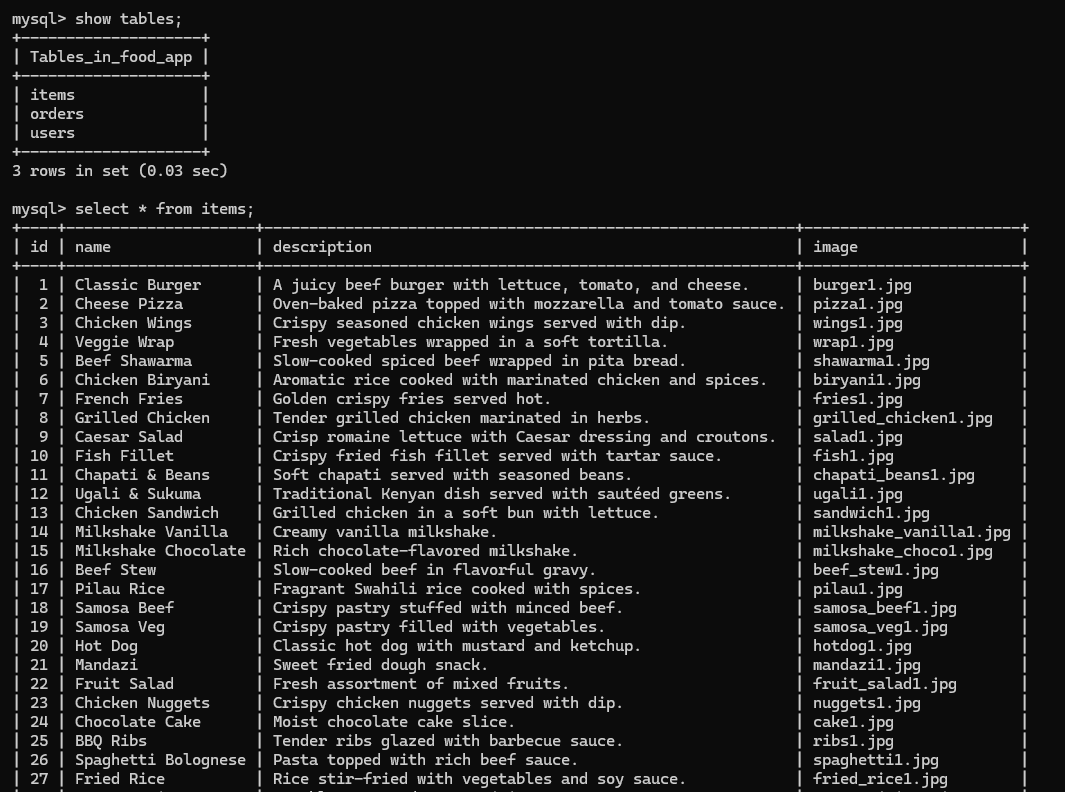
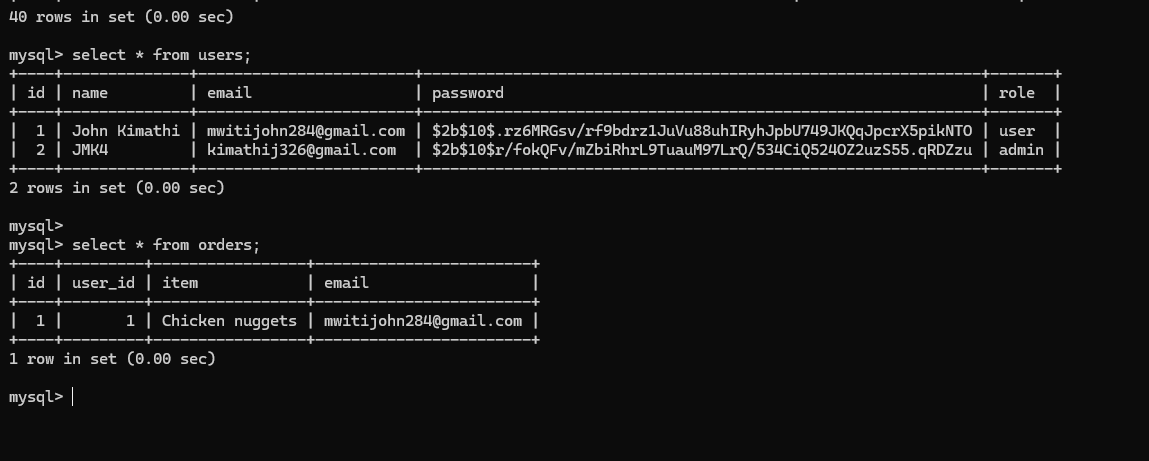
Created the MySQL database (food_app) and required tables to store users, items, and orders. This ensures structured data storage for the application.
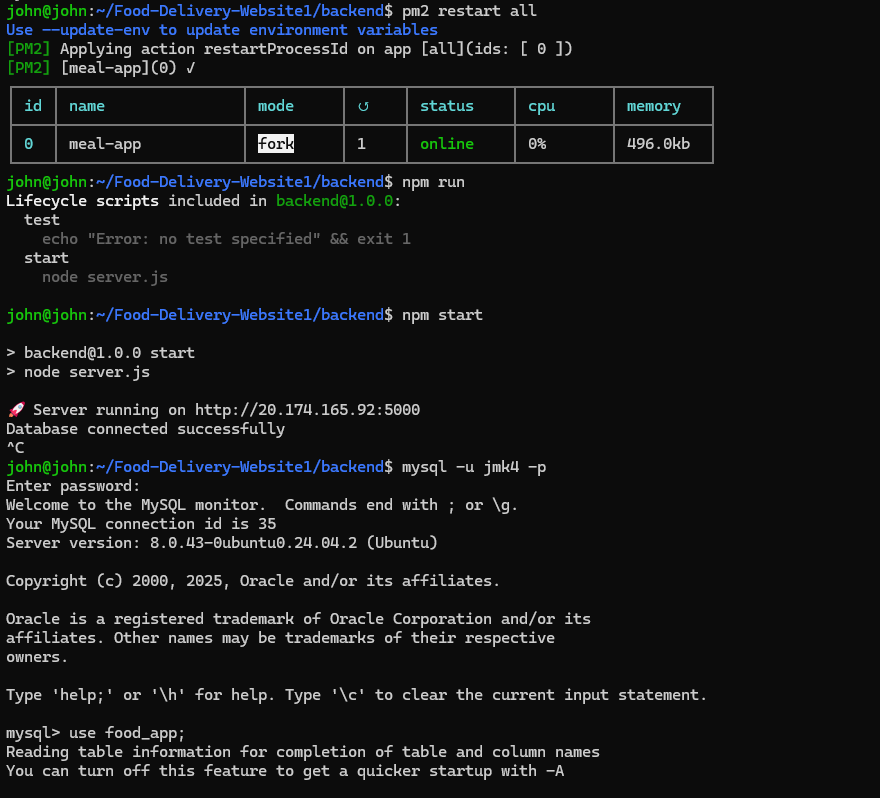
Test Backend Server
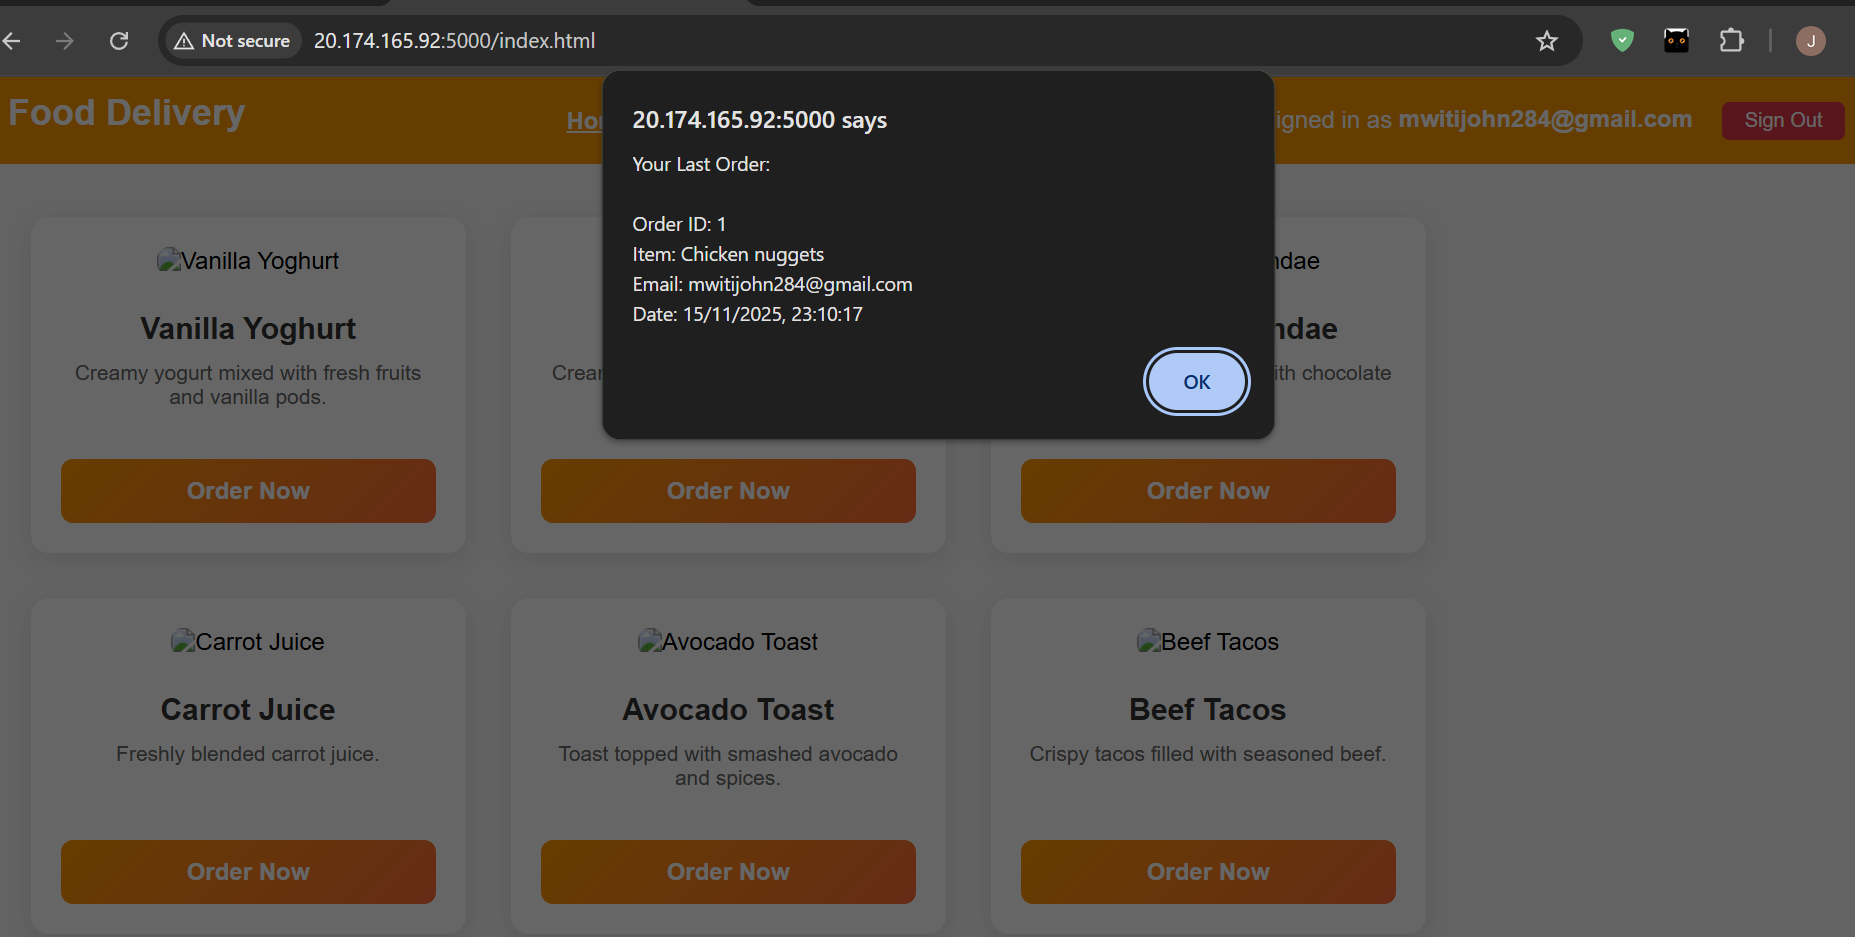

Verified the backend is running and serving the frontend correctly from the server by displaying the admin and user pages successfully.
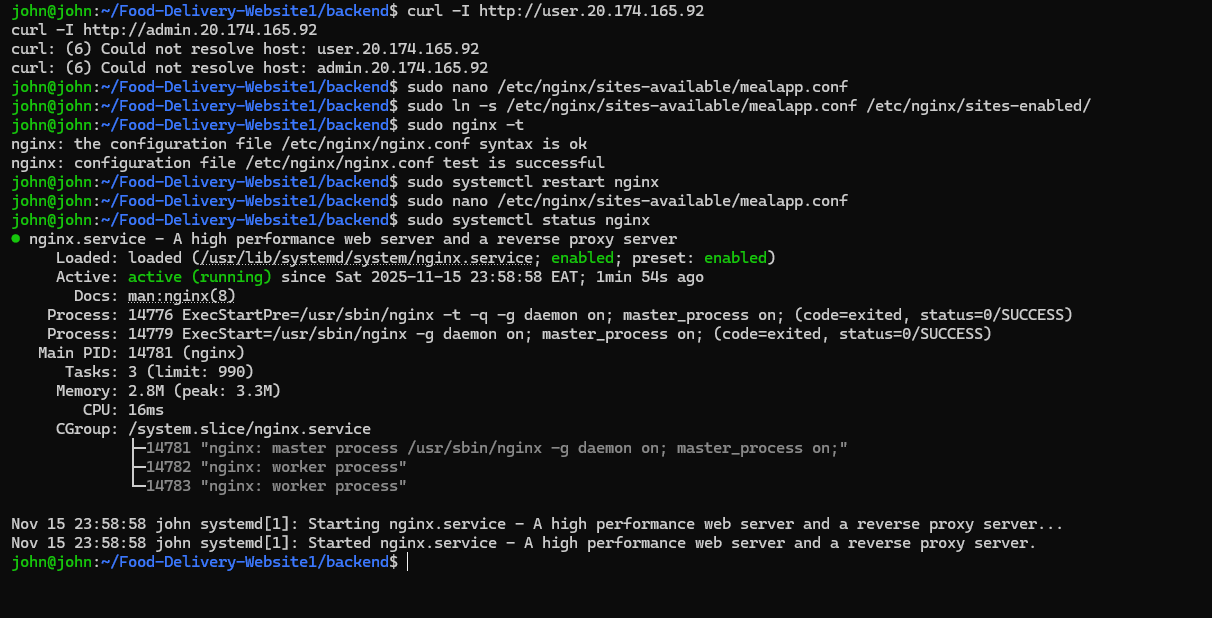
Configure Nginx as Reverse Proxy
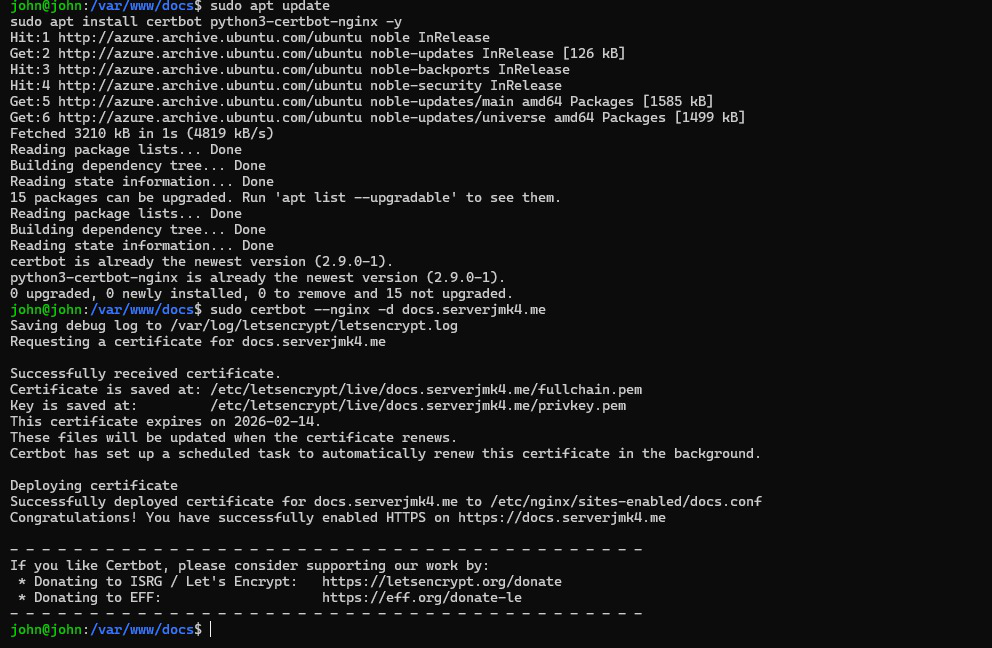
Install SSL (Certbot) [6 Marks]
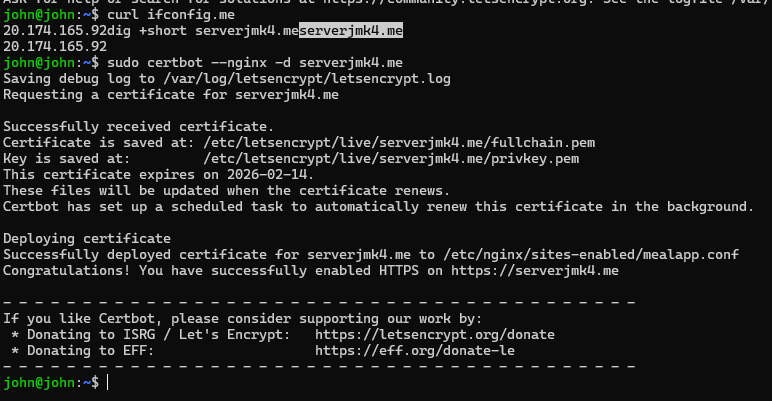
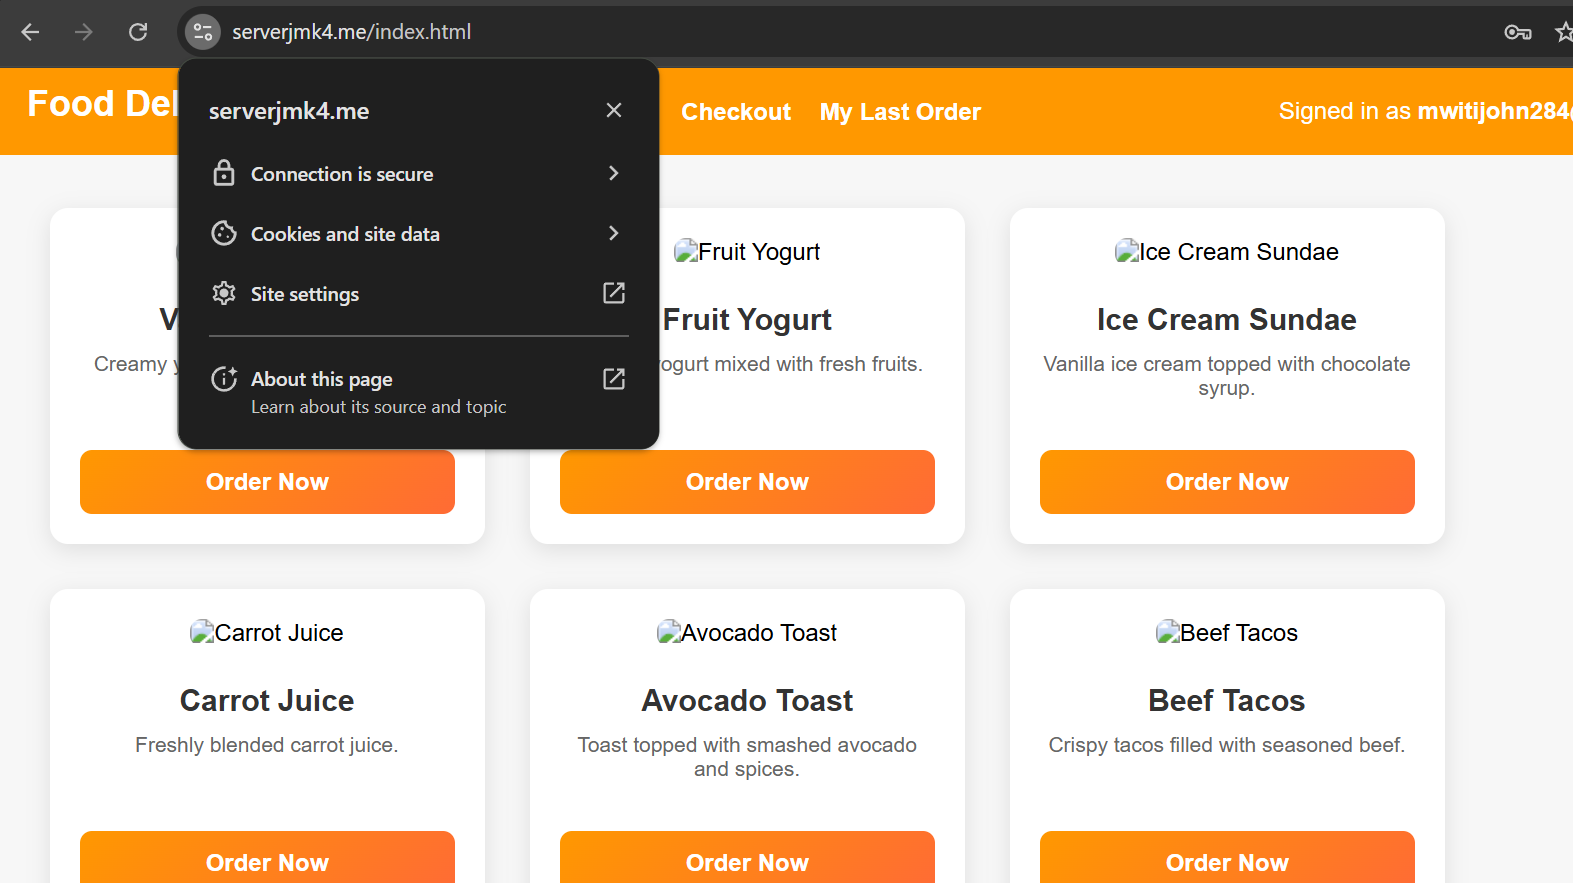
Accessing site securely:
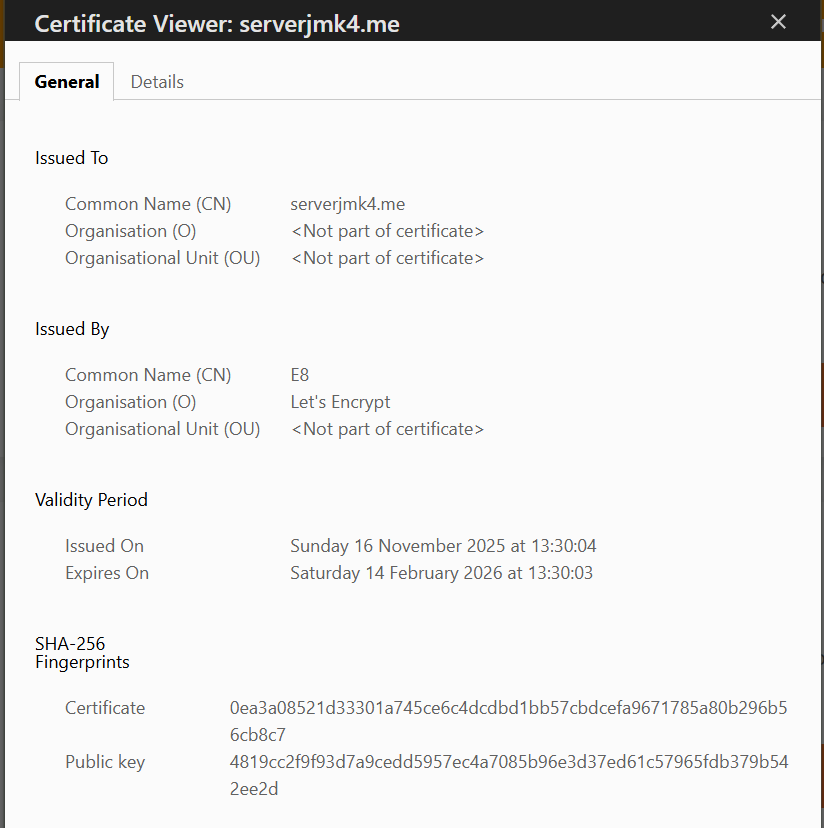
We initially attempted ZeroSSL but faced verification issues. We switched to Certbot (Let's Encrypt) because it integrates seamlessly with Nginx, provides automatic SSL certificate renewal, and is reliable for production deployment.
Certbot automatically:
- Verifies domain ownership
- Downloads certificate
- Configures Nginx for HTTPS
- Sets up auto-renewal
Secure Passwords + Input Validation [2 Marks]
- Auth.js – hashes user passwords using bcrypt

- Valid input in forms
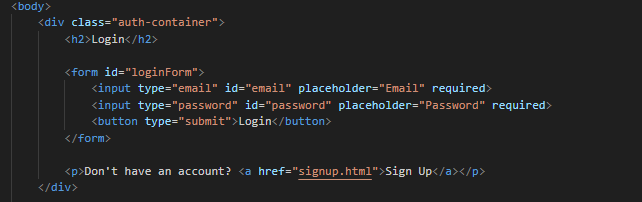
Passwords are securely hashed, and forms validate user input, ensuring database security and user-friendly error checking.
Problems Encountered
-
GitHub Access Issue: Tried accessing github via my credentials but was not successful.
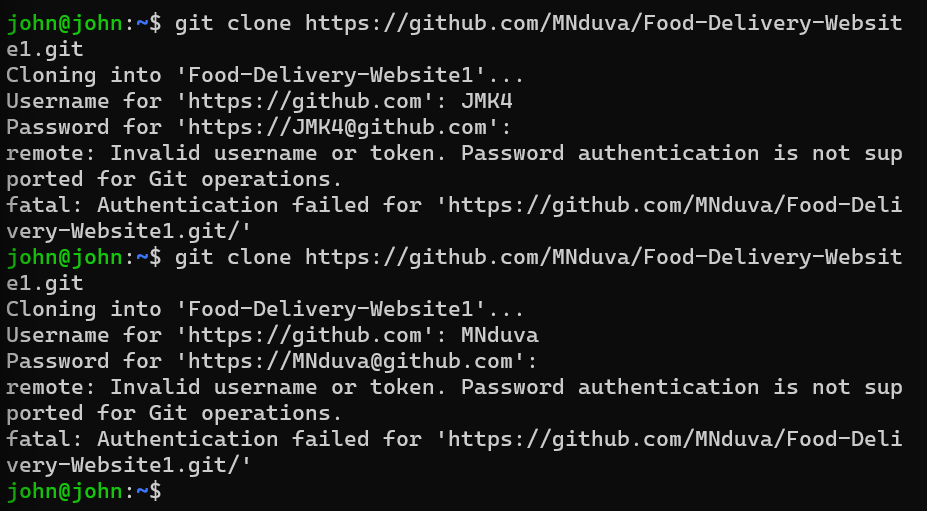
Image 25: GitHub Access Problem So used this instead:
Image 9: Alternative GitHub Access Method - Server Performance: The server was slow so had to restart it
-
Incomplete Upload: Had to re-clone, the file I uploaded only sent js files so was incomplete
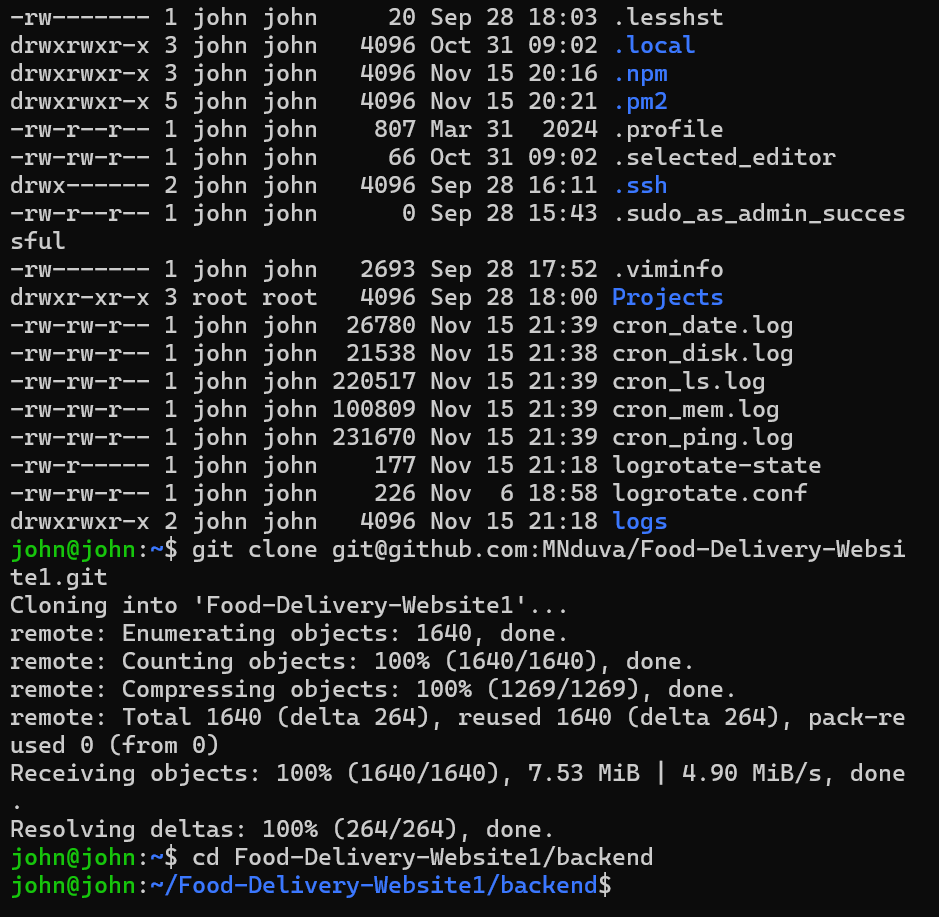
Image 26: Re-clone Process -
SSL Certificate Issue: SSL failed initially due to the DNS that was to point to my server was also pointing to github
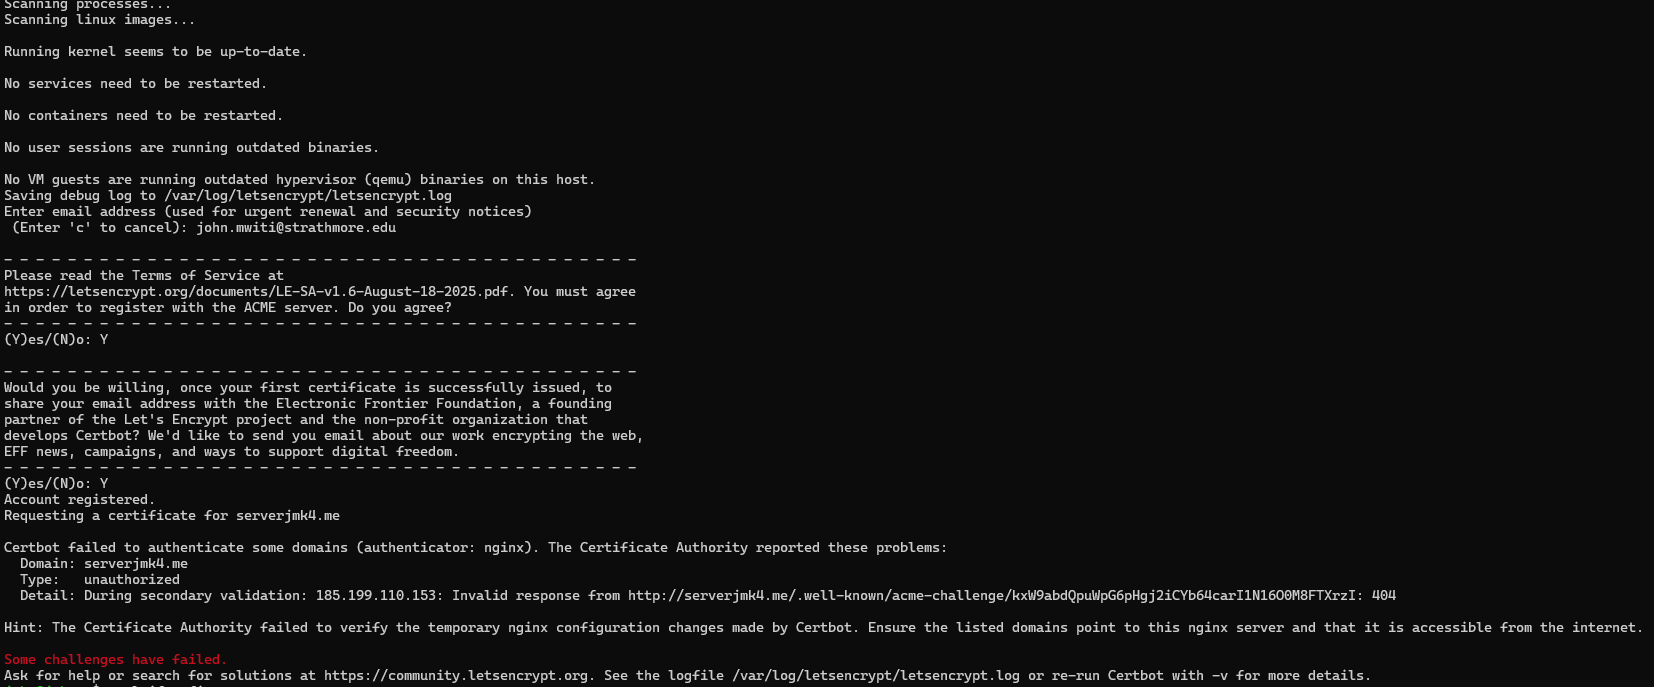
Image 27: SSL DNS Issue Resolution